Feeding sourdough starter felt like a mystery when I first began. I remember standing in my Asheville kitchen with flour on my sleeves and a bubbly jar that smelled like tangy hope. My grandma used to say, “You’re not just feeding dough—you’re raising it.” That stuck with me. Over the years, I’ve turned that memory into a daily rhythm that keeps my starter strong, predictable, and ready to bake.

When I bake every day, I keep a close sourdough starter feeding schedule, often using a simple 1:1:1 ratio. On busy weeks, I slow things down with higher ratios for easier sourdough starter maintenance. That’s the beauty of feeding sourdough starter: it adapts to your life, not the other way around.
If you want to see how a healthy, active starter brings life to dough, try my sourdough baguette recipe. This bread only works when you understand how to feed sourdough starter consistently.
Table of Contents
Why Feeding Your Starter Matters
When I first began feeding sourdough starter regularly, I didn’t fully understand what was happening inside that jar. Each feeding keeps the wild yeast and bacteria in balance, which is critical to both rise and flavor. Skip too many feedings, and acidity builds up, leading to an inactive sourdough starter that struggles to rise.
That’s why sourdough starter care is non-negotiable. Without it, you end up with dense loaves instead of airy crumb. I noticed this most when making sweet breads—if I wasn’t consistent about how to feed sourdough starter, the dough collapsed.
For more on how fermentation affects sourdough flavor, I wrote about it in my post Is sourdough bread gluten-free?. Regular feeding doesn’t just keep the culture alive—it ensures your bread is flavorful, digestible, and reliable.
Feeding Ratios Simplified
The first time I read “1:2:2” on a recipe card, I thought feeding sourdough starter required a calculator. But really, it’s just shorthand for starter, flour, and water by weight.
Here’s how feeding sourdough starter ratio works in practice:
| Ratio | Example | Time to Peak | Best For |
|---|---|---|---|
| 1:1:1 | 50g starter : 50g flour : 50g water | 4–6 hours | Daily baking |
| 1:2:2 | 50g starter : 100g flour : 100g water | 6–8 hours | Steady activity |
| 1:5:5 | 20g starter : 100g flour : 100g water | 10–12 hours | Overnight feeds |
Learning these ratios made me confident in how to feed sourdough starter no matter the day. It’s also what gave my sourdough cinnamon rolls their perfect rise—because the dough needs a starter at peak strength, not one that’s starving.
Choosing the Right Ratio for Your Schedule
When I was working long shifts, I thought feeding sourdough starter daily was impossible. Then I discovered that I could change the feeding ratio based on my schedule.
- Daily bakers: Use 1:1:1 or 1:2:2. This keeps your starter lively for same-day baking.
- Weekend bakers: Use 1:4:4 or 1:5:5. Great for slower schedules when you only bake once or twice a week.
- Busy weeks: Feed 1:10:10 and refrigerate. This stretches the sourdough starter feeding schedule, keeping it viable for days.
- Temperature tweaks: Warm kitchens need higher ratios or cooler water; cooler kitchens need smaller ratios or more frequent feedings.
Understanding how to maintain sourdough starter this way gave me freedom. Now I can choose whether to keep it active vs. inactive, depending on what I’m baking next.
Step-by-Step Feeding Sourdough Starter Guide
When I first learned how feeding sourdough starter, I treated it like a guessing game. Some days I added too much flour, other days too much water. The result? A moody jar that didn’t rise when I needed it most. Over the years, I developed a routine—a reliable sourdough starter maintenance method that works every time.
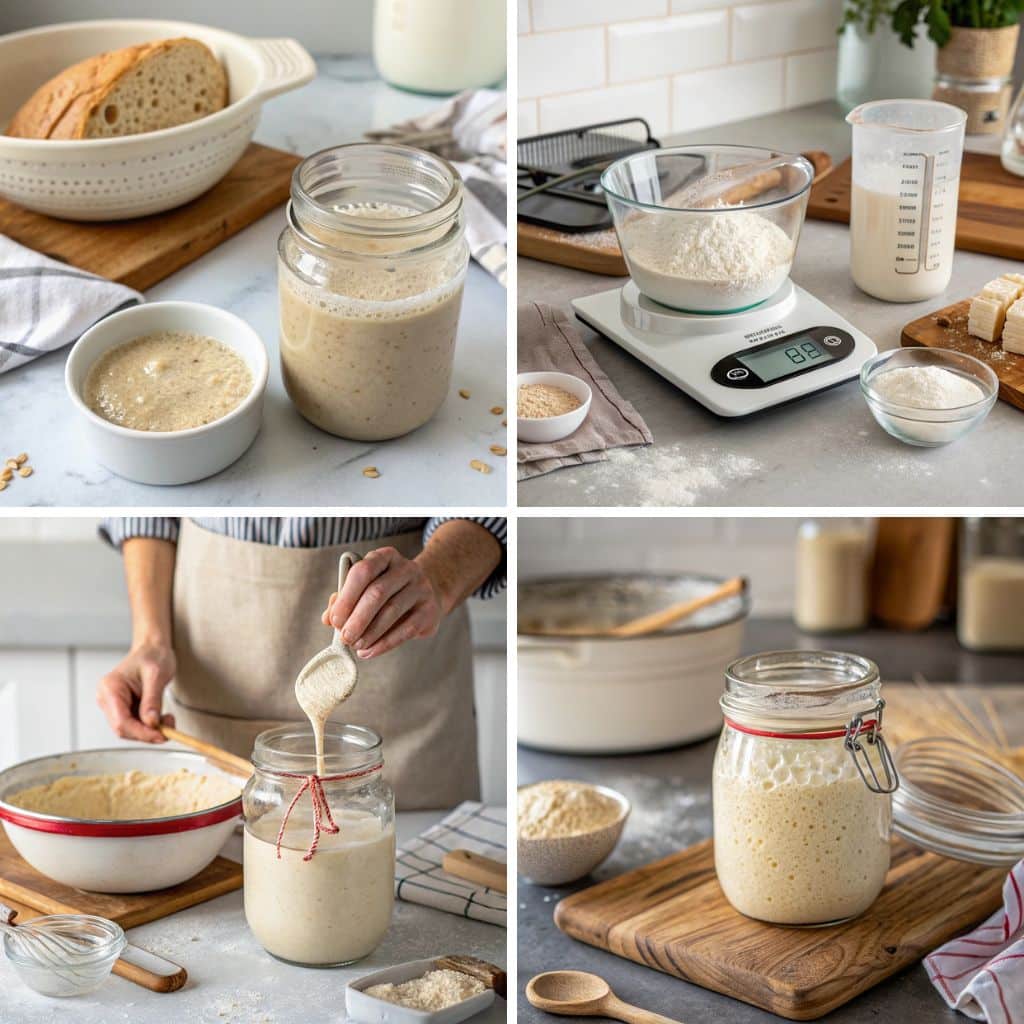
Here’s my exact process for feeding sourdough starter:
Step 1: Discard
Remove most of the starter from the jar, keeping about 20–50 grams. This prevents microbial buildup and keeps your sourdough starter feeding schedule manageable. (And don’t throw away the discard—you can use it for pancakes or crackers!)
Step 2: Add Flour and Water (by Weight)
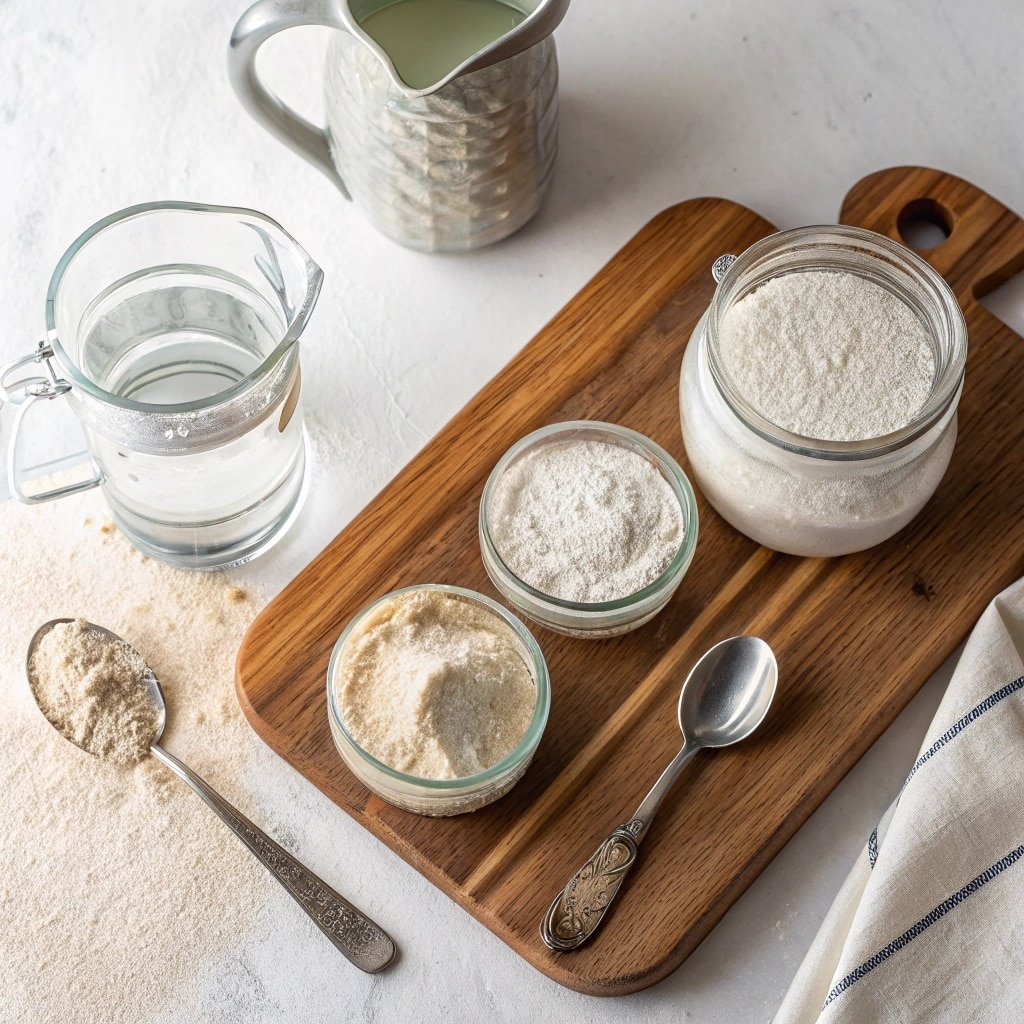
Measure flour and water using a kitchen scale. Always follow your chosen sourdough feeding ratio (e.g., 1:1:1, 1:2:2, or 1:5:5). Feeding by weight ensures accuracy—volume measurements can lead to unpredictable results.
Step 3: Mix Thoroughly
Stir until your starter has a smooth, batter-like consistency. If it feels stiff, add a splash of water; if it’s runny, sprinkle in a bit more flour. This simple adjustment is part of learning how to feed sourdough starter properly.
Step 4: Mark the Jar
Use a rubber band, tape, or even a marker to track its rise. This is my favorite way to visually monitor sourdough starter care—it shows you exactly when the culture doubles or peaks.
Step 5: Let It Rise
Leave your starter at room temperature. Depending on your ratio and kitchen conditions, it may double in 4–12 hours. When it’s bubbly and airy, your starter is active and ready for baking.

Step 6: Bake or Refrigerate
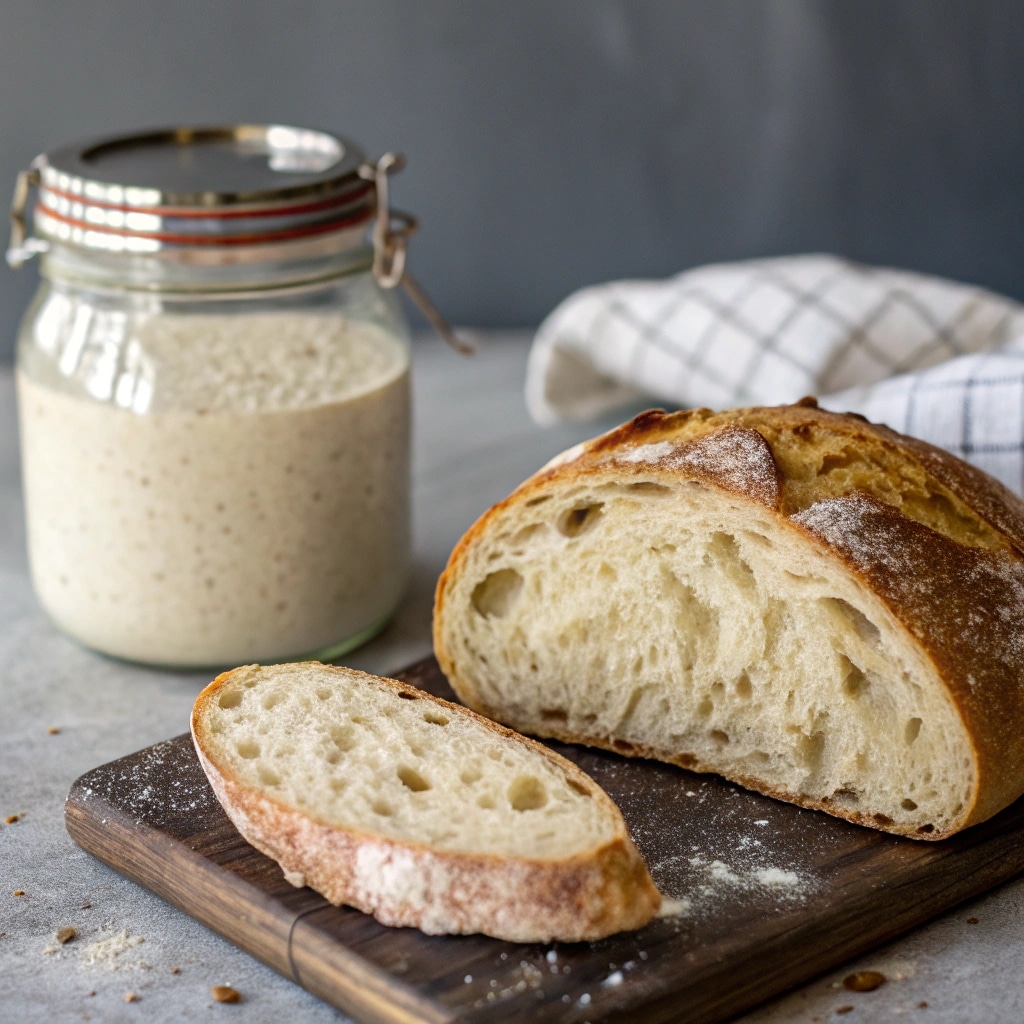
Once it peaks, you can either use it immediately in recipes (like a rustic loaf) or refrigerate it for later. If refrigerating, always feed before storage so the yeast and bacteria have enough food to last.
Pro Tips for a Healthy Starter
When I first started feeding sourdough starter, I didn’t realize how much little details mattered—like the water I used, the type of flour, or even the jar itself. After a lot of trial and error (and a few sad, sluggish starters), I built a routine that keeps my culture happy no matter the season. Here are my go-to tips for long-term sourdough starter maintenance:
- Use the right water
Tap water with chlorine can weaken yeast activity. I always use filtered or dechlorinated water when feeding sourdough starter to keep the microbes thriving. - Choose your flour wisely
- Whole wheat or rye flour speeds up activity, perfect if you’re reviving a sluggish starter.
- All-purpose flour keeps things neutral and predictable, great for beginners learning how feeding sourdough starter consistently.
- Adjust hydration when needed
Your starter should feel like a thick pancake batter. If it’s too stiff, add water; if it’s runny, add flour. This simple adjustment is one of the most important tricks in sourdough starter care. - Keep a clean jar
A clear, fresh container makes it easy to track bubbles and rise, while preventing unwanted buildup. I swap my jar weekly—it’s a small step that makes a big difference. - Watch temperature
Warm kitchens speed up fermentation, so I use higher ratios or cooler water. In winter, I shorten my sourdough starter feeding schedule or use warmer water to keep things lively. - Don’t skip feeds too often
Even if I refrigerate my starter, I still refresh it weekly. That way, it never slips into an inactive sourdough starter that takes days to bounce back.
For me, these practices turned feeding sourdough starter from a guessing game into a routine that feels second nature. Once you find your rhythm, maintaining your starter becomes as comforting as making your morning coffee.
Feeding Schedule Examples
When I first committed to daily baking, I fed my starter morning and night. Later, when life got hectic, I learned to stretch feedings to once a week. That’s the beauty of feeding sourdough starter—you can adapt it to your routine. Below are the schedules I recommend, depending on how often you bake.
| Schedule | Feeding Ratio | How Often | Best For |
|---|---|---|---|
| Daily Baking | 1:1:1 (or 1:2:2) | Morning & Evening | Active bakers who want starter ready at all times |
| Weekly Baking | 1:4:4 or 1:5:5 | Once every 24–48 hours | Weekend bakers who bake once or twice a week |
| Refrigerated Maintenance | 1:10:10 | Once a week | Busy bakers needing long-term storage |
My Routine in Practice
- On busy workweeks, I feed once, then refrigerate. When I’m ready to bake, I revive it with 1–2 feedings.
- On baking-heavy weeks, I stick to a twice-a-day sourdough starter feeding schedule.
- For special bakes—like holiday bread—I plan ahead and adjust ratios so my starter peaks exactly when I need it.
This flexibility means your starter can be active vs. inactive depending on your needs. What matters most is consistency in feeding sourdough starter and adjusting based on temperature, flour, and your baking rhythm.

Common Problems & Fixes
Even with the best sourdough starter maintenance routine, problems can pop up. Here’s a troubleshooting guide I’ve built from years of feeding sourdough starter:
| Problem | Likely Cause | Solution |
|---|---|---|
| Hooch on Top (liquid layer) | Starter is underfed and too acidic | Pour off hooch, then refresh with your regular sourdough feeding ratio. Stick to a consistent sourdough starter feeding schedule. |
| No Rise or Activity | Cold environment or weak yeast population | Move starter to a warmer spot (75–80°F). Feed with whole grain flour. Reviving sourdough starter may take 2–3 feedings. |
| Overly Sour or Runny | Acidity buildup from irregular feedings | Feed more frequently at a lower ratio (1:1:1). Regular sourdough starter maintenance prevents this. |
| Mold Growth | Dirty jars, neglect, or poor flour quality | Discard and start fresh. Prevent mold by using clean jars, good flour, and steady feeding sourdough starter habits. |
| Starter Collapses Quickly | Too low of a feeding ratio for activity level | Switch to a higher feeding sourdough starter ratio (1:5:5) or feed twice daily to provide more food. |
FAQs About Feeding Sourdough Starter
How to properly feed sourdough starter?
Discard most of the starter, then add equal parts (by weight) starter, flour, and water—such as 1:1:1. Mix, mark the jar, and let it rise until doubled.
What is the biggest mistake you can make with your sourdough starter?
The biggest mistake is neglecting feedings. Irregular feeding sourdough starter routines lead to excess acidity, weak yeast, and poor rise.
How much should you feed your sourdough starter?
Feed based on your schedule: daily use works with 1:1:1 or 1:2:2; weekly or refrigerated use needs higher ratios like 1:5:5 or 1:10:10.
Is it better to feed sourdough starter morning or night?
Either works. Morning feedings are best if baking later in the day, while night feedings with higher ratios prepare the starter for morning baking.
Final Thoughts
When I look back on my baking journey, I realize feeding sourdough starter has been the most important ritual in my kitchen. At first, I treated it like a chore—something I had to remember between loads of laundry and work emails. But now, it feels like second nature, a quiet moment where I nurture something alive that will, in turn, nurture me with bread.
The key is consistency. A healthy starter doesn’t happen by chance—it comes from a steady sourdough starter feeding schedule that fits your life. Maybe that means daily feedings for fresh loaves, or a weekly routine with long rests in the fridge. Either way, you’re in control.
What matters most is learning how to feed sourdough starter in a way that keeps it strong, bubbly, and predictable. With the right ratios, a clean jar, and mindful adjustments for temperature, you’ll never have to worry about whether your dough will rise. That’s the heart of good sourdough starter maintenance: flexibility, observation, and care.
So, embrace the process. Whether your starter is active vs. inactive, fast-rising or slow, every feeding is a chance to connect with tradition—and to bake something beautiful.
Follow me on Facebook and Pinterest where I share cozy, easy-to-make baking recipes just like this one.
